
If you are unable to preview your Facebook LIVE and this notice comes up, it's likely because you did not set up your scheduled post to show up on Facebook before it goes LIVE. This article will inform you on how to preview your Facebook LIVE.
This will not work for Facebook Groups, as those are done using a Stream Key and Stream URL.
By following this guide, you will create a post on Facebook right after scheduling. This post will allow people to see when you are going LIVE, as well as let them set a reminder for the LIVE stream. This can be a great way to get people to tune into your streams!
Steps to be Able to Preview my Facebook LIVE
Step 1: Go to the Dashboard/Incubator and Schedule Video
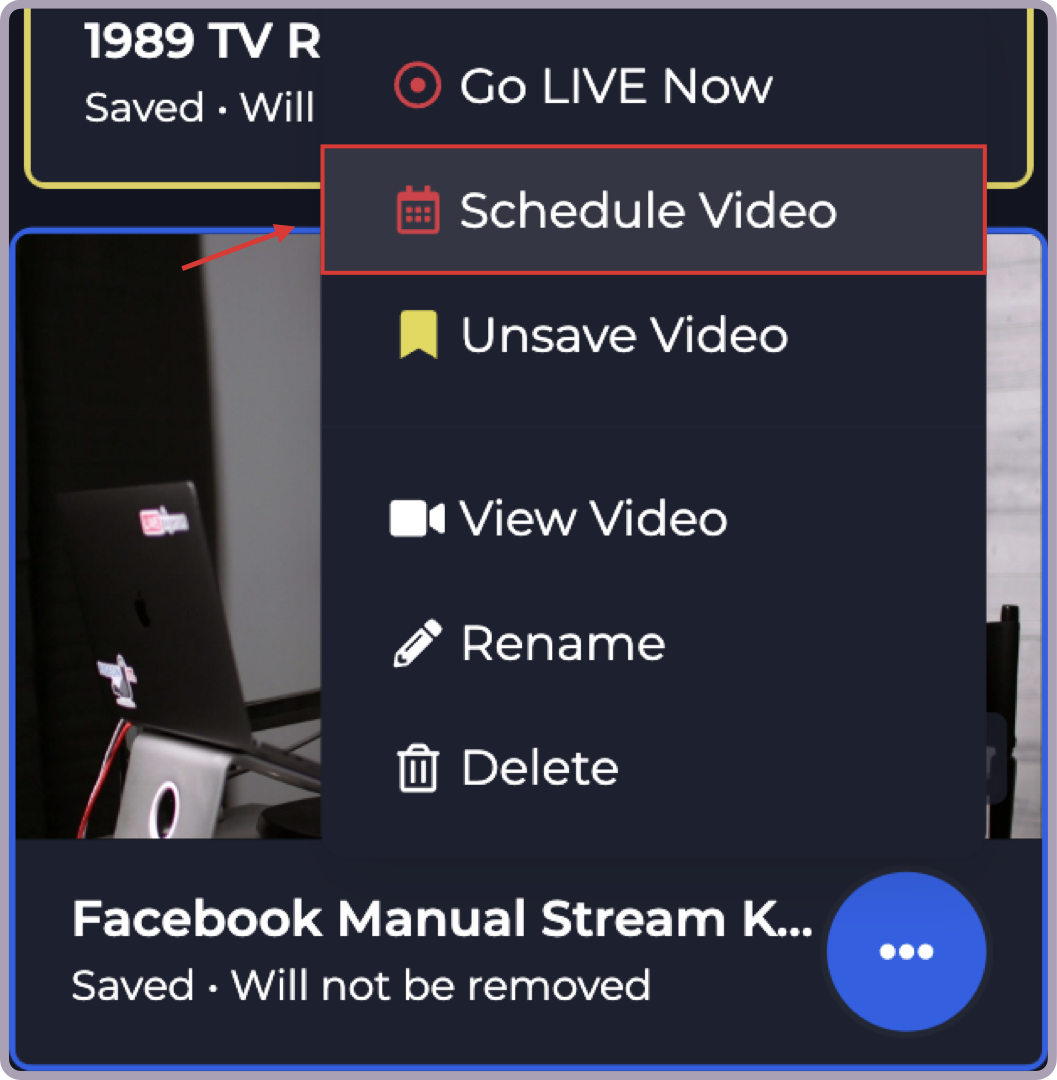
- From the Dashboard, go ahead and select the Schedule option. If you prefer the Incubator, go there and click the 3 dots on the video you are wanting to schedule and then select "Schedule Video".
If you schedule from the Incubator, the steps will all be done on one page. You will still want to make sure to follow every step we go over.

Step 2: Select the "Create LIVE Event" button
- Select the time and date that you want your video to go LIVE. Then, go to the right of the Calendar and click the "Create LIVE Event" button.

This button will create a post on Facebook, notifying your viewers that you are going to go LIVE at this specific time.
Step 3: Choose a Thumbnail
- Once you have created a LIVE event, you can choose to select a Thumbnail. Click the button, "Choose Thumbnail" and then select a photo from your computer. If you don't want to add a thumbnail, Facebook will use your profile/cover photo for the thumbnail instead.

Step 4: Write your Title and Description
- Put in your title and description for your LIVE stream.

You can even reuse your previous title and description if you want by clicking the button labeled as such.
Step 5: Select your Destination(s)
- Here you can select your Facebook destinations and any other destinations you would like. The "Create LIVE Event" button will only affect your Facebook Profiles and Pages.

Step 6: Hover the Picture and Select "View Post"
- Upload your video. If you already have your video uploaded to your Incubator, you can select it using that option as well.

Step 7: Hover the Picture and Select "View Post"
- You will automatically be taken to your Scheduled section after scheduling your video. Hover over the video of your post and select the blue "View Post" button.

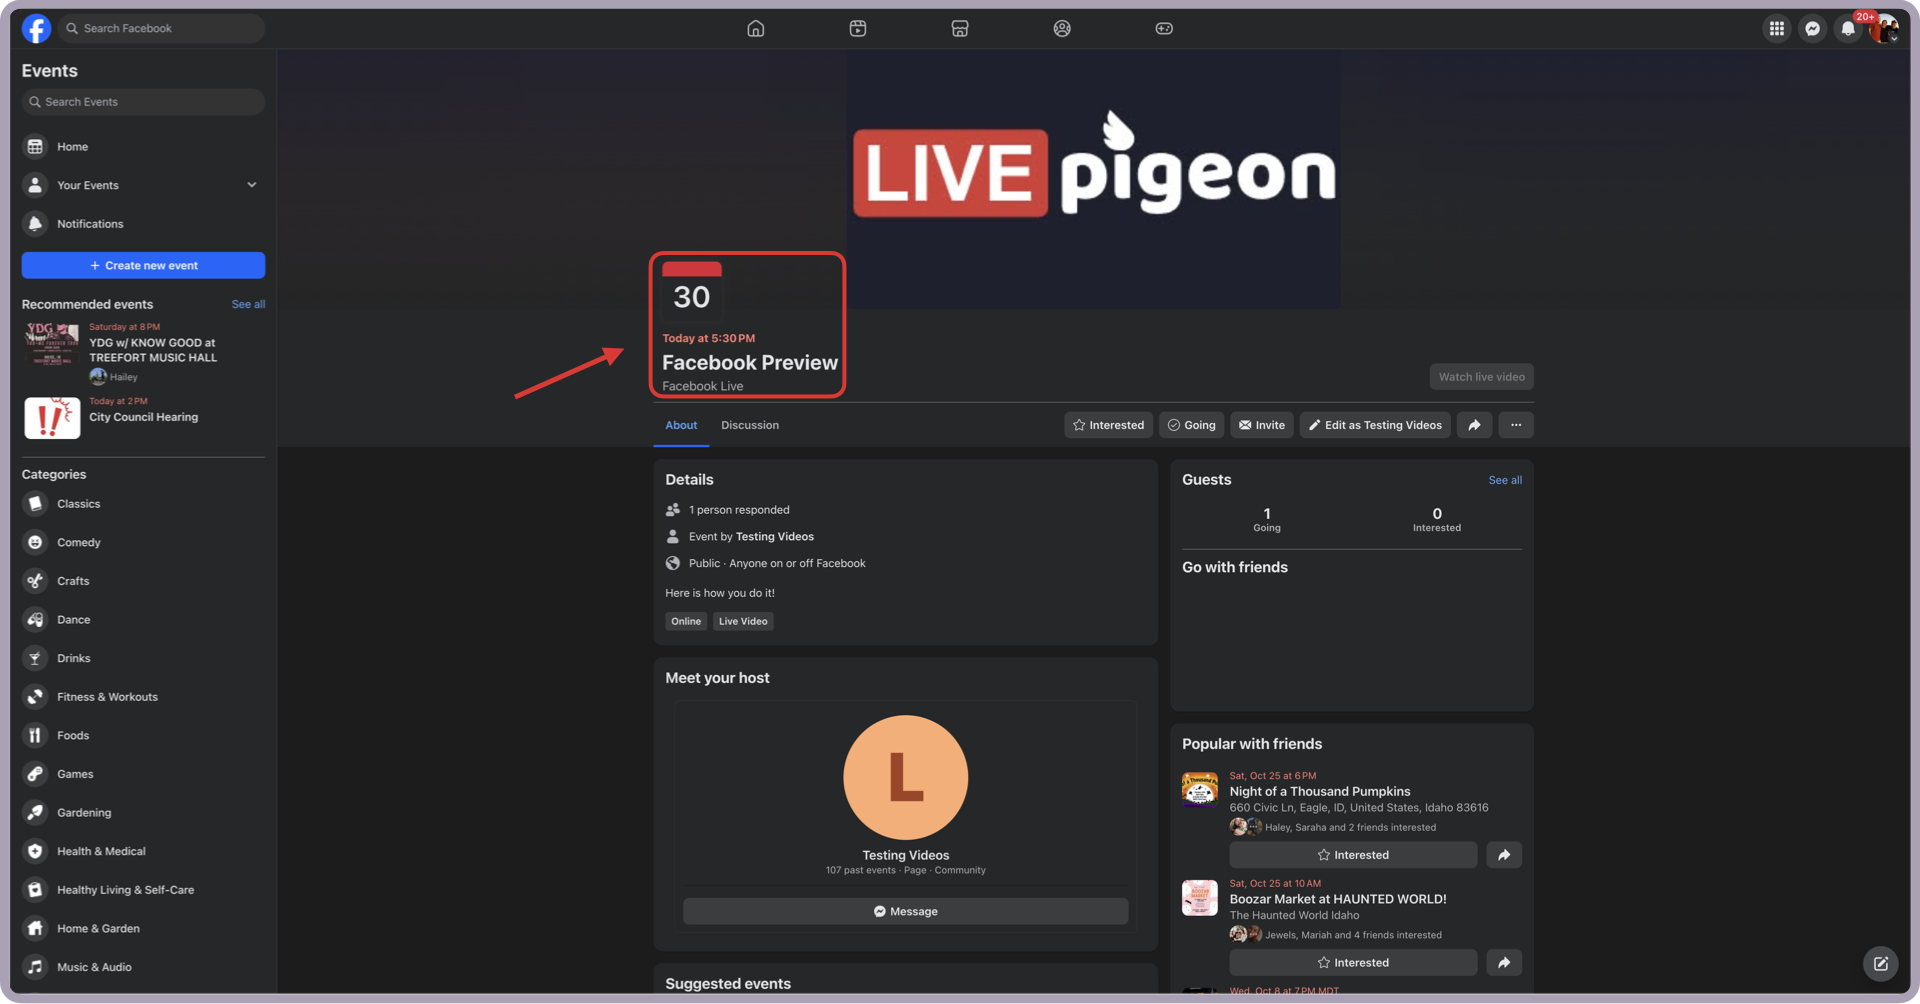
Step 8: Preview your Facebook LIVE stream
- This will take you to your Facebook page where you can preview your Facebook LIVE Event post.
That's all there is to it! Even if you don't set up Facebook to be able to view your post, it will still go LIVE as long as it is scheduled without and error message.
If you have any more questions please do not hesitate to reach out to our support team!
(208) 400-6999 • support@livepigeon.com